IT'S FINALLY HERE!!!! ROLL TIDE ROLL!!!!! It feels like it's been FOREVER since the last football game!!! At last I can breathe again, well until next week's game that is lol. I'm sure you've already guessed in THIS house we are Bama ALL THE WAY! Don't worry though, we're good sports, we watch and yell for our fellow SEC teams just as we do our own. BUT FIRST we cheer our favorite guys and coach to victory! First win of the season yall! Road to #16!


To start off football season in our home we first put out my famous Roll Tide Wreath! OH YEAH! Our neighbors know what time it is!
Here's the link for what seems to be my most visited post!
Here's the link for what seems to be my most visited post!
http://creationsofacoffeeholic.blogspot.com/2014/01/rammer-jammer-roll-tide-wreath.html

What better way to kick off football season, besides my wreath that is lol, than with an all around favorite in our family ROTEL DIP!!! Now I know you can get the Velveeta version off the box BUT, I'm partial to the Nanny's recipe that I MAY have tweaked JUST A LITTLE!!! The hotter the better! Am I right or am I RIGHT! lol
MATERIALS/INGREDIENTS:

*** I make two separate sets, a Hot one and a Mild one ***
The Hot Set (a.k.a. MY ROTEL DIP)
- 1 lb. hot sausage
- 1.5 lbs. ground beef
- 2 cans HOT Rotel tomatoes
- 2 cans HOT Rotel tomatoes
- 1 large block of Mexican Velveeta
- 1 small block of Jalapeno Velveeta
- Olive Oil
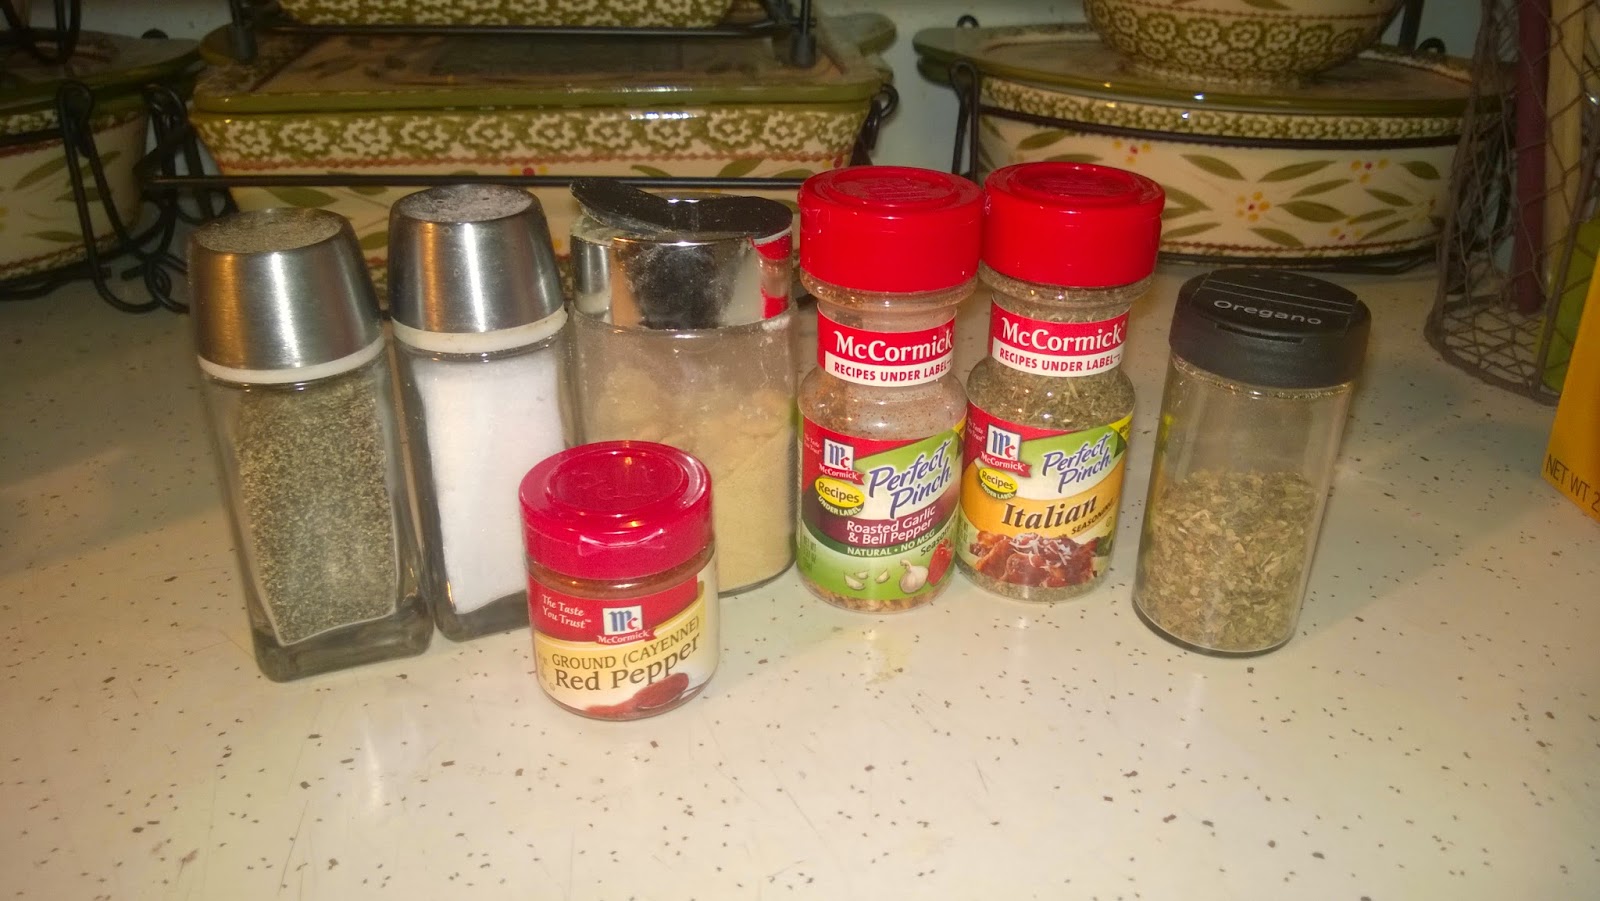
- Black Pepper
- Salt
- Crushed Red Pepper Flakes
The Mild Set (Nanny's Original Version)
- 1.5 lbs. ground beef
- 1 lb. regular sausage
- 1 can MILD Rotel tomatoes
- 1 small block of regular Velveeta cheese
- Olive Oil
- Salt
*** Two skillets, a knife, One large crock pot and one small crock pot. If you don't have crock pots you can also use regular deep boilers. But you'll have to keep a good eye one them and steadily stir to keep from scorching your dip.
Place the skillets on the stove and turn both stove eyes to medium heat to start. Then add about a quarter's size amount of olive oil to each skillet.

Divide the three pounds of ground beef between the two skillets, break a part with a spatula to start browning.

Now add the hot sausage to one skillet and the regular to the other skillet, IF need be make a note of which is which. To your MILD skillet add about 1/2 a teaspoon of salt and combine. To your hot skillet add 1/2 teaspoon of salt, 1/2 teaspoon of black pepper and 1 teaspoon crushed red pepper flakes(or more for more heat). Break all the meat up keeping an eye on both to keep from burning until both are completely browned, breaking the meat apart as you go.


Meanwhile, open all three cans of Rotel tomatoes. Add BOTH HOT cans to the large crock pot and the ONE MILD can to the small crock pot. Go ahead and plug in both crock pots to get started warming, JUST TO THE LOW SETTING FOR NOW.


Now time for the BEST part... THE CHEESE!!! Unwrap the large, Mexican style block of Velveeta. The way I've learned to cube my cheese blocks is by first cutting the block length wise all the way through.

Turn the block on it's side and repeat but, be sure to keep the slices all together. Turn the block side ways and make roughly one inch slices down the length of the block. Add the cubes to the large crock pot. Repeat with the Jalapeno block adding to the large pot as well. Repeat the process again with the small block of Velveeta Original adding this one to the small crock pot. At this point you can turn both crock pots up to high.


Mild on the Left, Hot on the Right.


YES I also realize you see I haven't plugged in my crock pots. My recipes are for our family reunion, I assembled my recipes at home and started the crock pot when I got there, which of course is a second option for you as well.

The regular recipe and the start now and finish later recipe should both be treated the same. Leave heat on high and stir occasionally until both cheese are completely melted.
After both cheese mixtures are completely melted and combined, turn the heat down to warm.
You're ready to serve! If you aren't serving at this point continue to keep both crock pots on warm, stir occasionally until serving time and while serving to keep from producing a film.
Mild on the Left, Hot on the Right.
Once you have all three cheese block cut up and placed in the correct crock pots you're ready to add the meat. Again make sure to keep the Mild separate from the Hot. Add the Hot meat mixture to your large pot, repeat with the Mild mixture for the small, draining the meat is up to you I chose to keep the grease to add flavor, but it is an optional step.
So IF you too want to assemble now and finish later... follow recipe to plan, except for heating the crock pot AND... continue from here.
Due to the hot meat of course they'd start a SLIGHT melting process BUT, when I got to our destination I plug them in IMMEDIATELY. I started them on high and continually came back to stir until they were melted.
The regular recipe and the start now and finish later recipe should both be treated the same. Leave heat on high and stir occasionally until both cheese are completely melted.
After both cheese mixtures are completely melted and combined, turn the heat down to warm.
You're ready to serve! If you aren't serving at this point continue to keep both crock pots on warm, stir occasionally until serving time and while serving to keep from producing a film.

There you have it!!! Our family FAVORITES to kick off the season. My famous wreath and my scrumptious Rotel Dips! ENJOY!!!